How to simply automate Advanced Inscriber
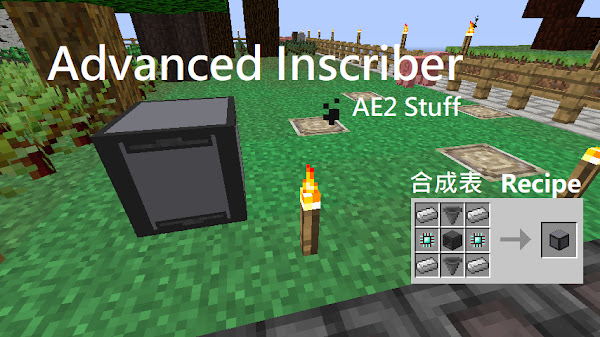
The Inscribers in Applied Energistics 2 can be replaced by the enhanced version, named Advanced Inscriber in AE2 Stuff.
The original Inscribers are not easily to be automated, but the advanced ones can achieve the automation easily, and the installation is simple to do.
List of required items:
- 5 Advanced Inscribers
- 5 ME Interfaces
- 5 ME Import Busses
- 10 Cables
- Some Dense Cables
- Your main applied energistics 2 system
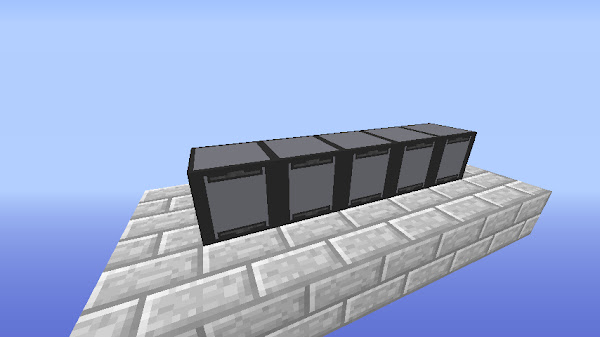
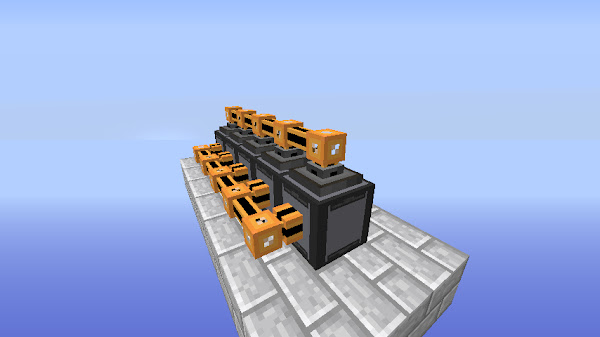
Step.1
Pick up a good place and place 5 Advanced Inscribers down.
Step.2
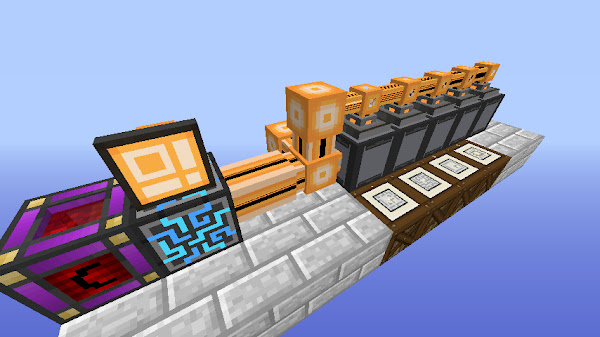
Choose 2 sides of Advanced Inscribers and attach cables to that. These is going to be attached by the interfaces and import busses, so please pick them up wisely.

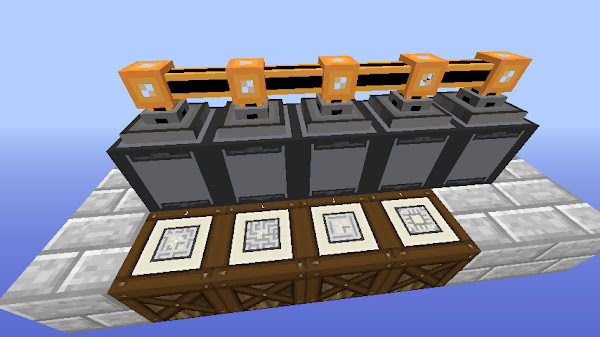
Step.3
Attach 5 ME Interfaces to one side of them.
Step.4
Attach 5 ME Import Busses to the other side of them. Import busses export finished products from the inscribers. If you want to reduce the usage of channels, they can be replaced by cables or pipes, but the completed products must send to the storage which is connected to crafting system, or crafting system cannot confirm that crafting is done.

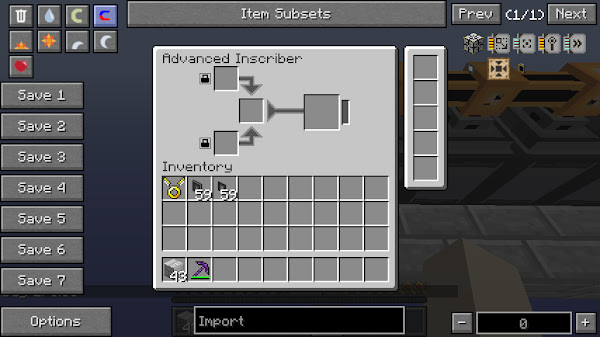
Step.5
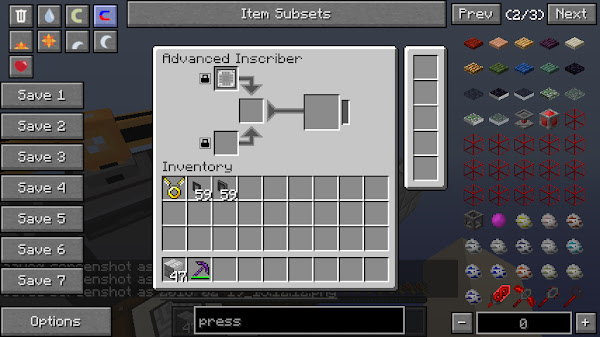
Check the locks in each inscribers. It should be locked which makes the ingredients unable to extract by ME Import Busses.
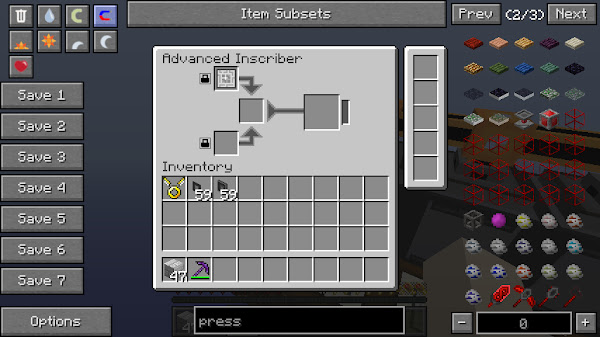
Step.6
Pick up 4 inscribers to put Inscriber Calculation Press, Inscriber Engineering Press, Inscriber Logic Press, and Inscriber Silicon Press at the top or bottom slot.


Step.7
Configure 5 Blank Patterns.
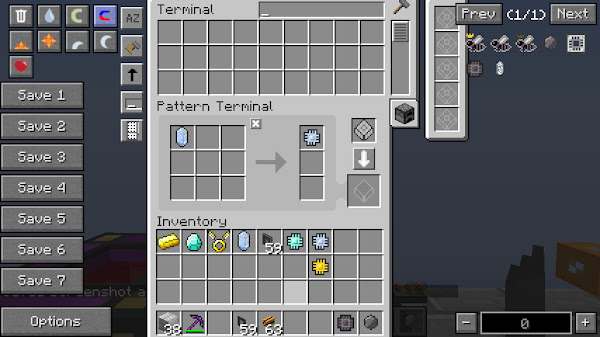


Step.8
Put those configured patterns into ME Interfaces.
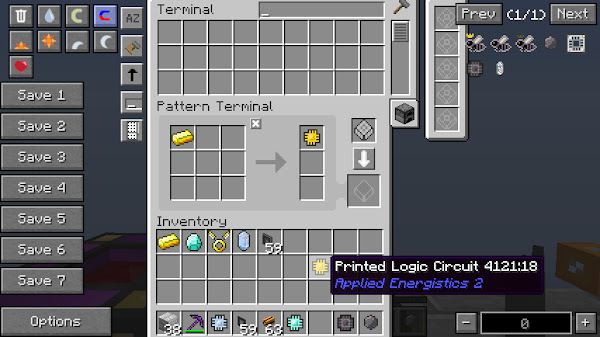
- Inscriber Calculation Press → Calculation Pattern
- Inscriber Engineering Press → Engineering Pattern
- Inscriber Logic Press → Logic Pattern
- Inscriber Silicon Press → Silicon Pattern
- The others put into the last interface.
Step.9
Connect two cables by Dense Cables.

Step.10
Connect this whole device to your main system or the system which contain the function of crafting automation.